Todays tip & trick is to show you a little before and after sequence from a senior portrait session I did recently. I’m going to show you a little about what goes into a finished portrait. What do I mean by finished? Well, as you can see by the photographs below, they change pretty greatly from one to the next. I have a ton of friends, clients, and people getting into photography that always ask me what I do to my pictures to get them to look the way that they do. Haha!! I love it when family (sorry Dad) say, “Can’t you just take a picture and then print it?”. Um. No. No, I can’t. Believe me, it is a lot more involved than simply going to a session, shooting, and making an 8×10 or handing over the file. For me personally, I spend just as much time behind the computer desk (if not more) than I do at my portrait sessions. There are a ton of steps in between all of that to get an image to look just the way I want it and to make it something that I am proud to put my name on and hand over to a client.
To start off, let me tell you a little about the portrait itself. The photographed Callie’s senior portrait session on location and everything was captured on my Canon 5D Mark II with 70-200mm F2.8 L Series lens (set at 135mm). For you technical folks : ISO 200, 250 @ F2.8. I used all available light (the sun) and a Larson Reflectasol with the soft silver side. They are great for adding a little extra sparkle & catch light in the eyes!
Starting with the first image labeled SOOC which stands for “straight out of camera”. So that particular picture has absolutely nothing done to it in terms of editing. No sharpening, no white balance, no added saturation, nothing. It’s a bit dark in exposure but not too far off. This is definitely something that I would never hand over as a finished product to a client or anyone else for that matter. It’s just too dark, drab, and overall blah (not my beautiful subject, just the image tones itself, of course).
On the the next one, labeled “before”. This photo has been given just a bit of Photoshop love. Some skin softening, some sharpening, a little bump to the overall exposure, added saturation, just overall tweaking on just about every level. This picture is beautiful but I wanted to add just a little bit of drama and “umph” than what is shown in the example.
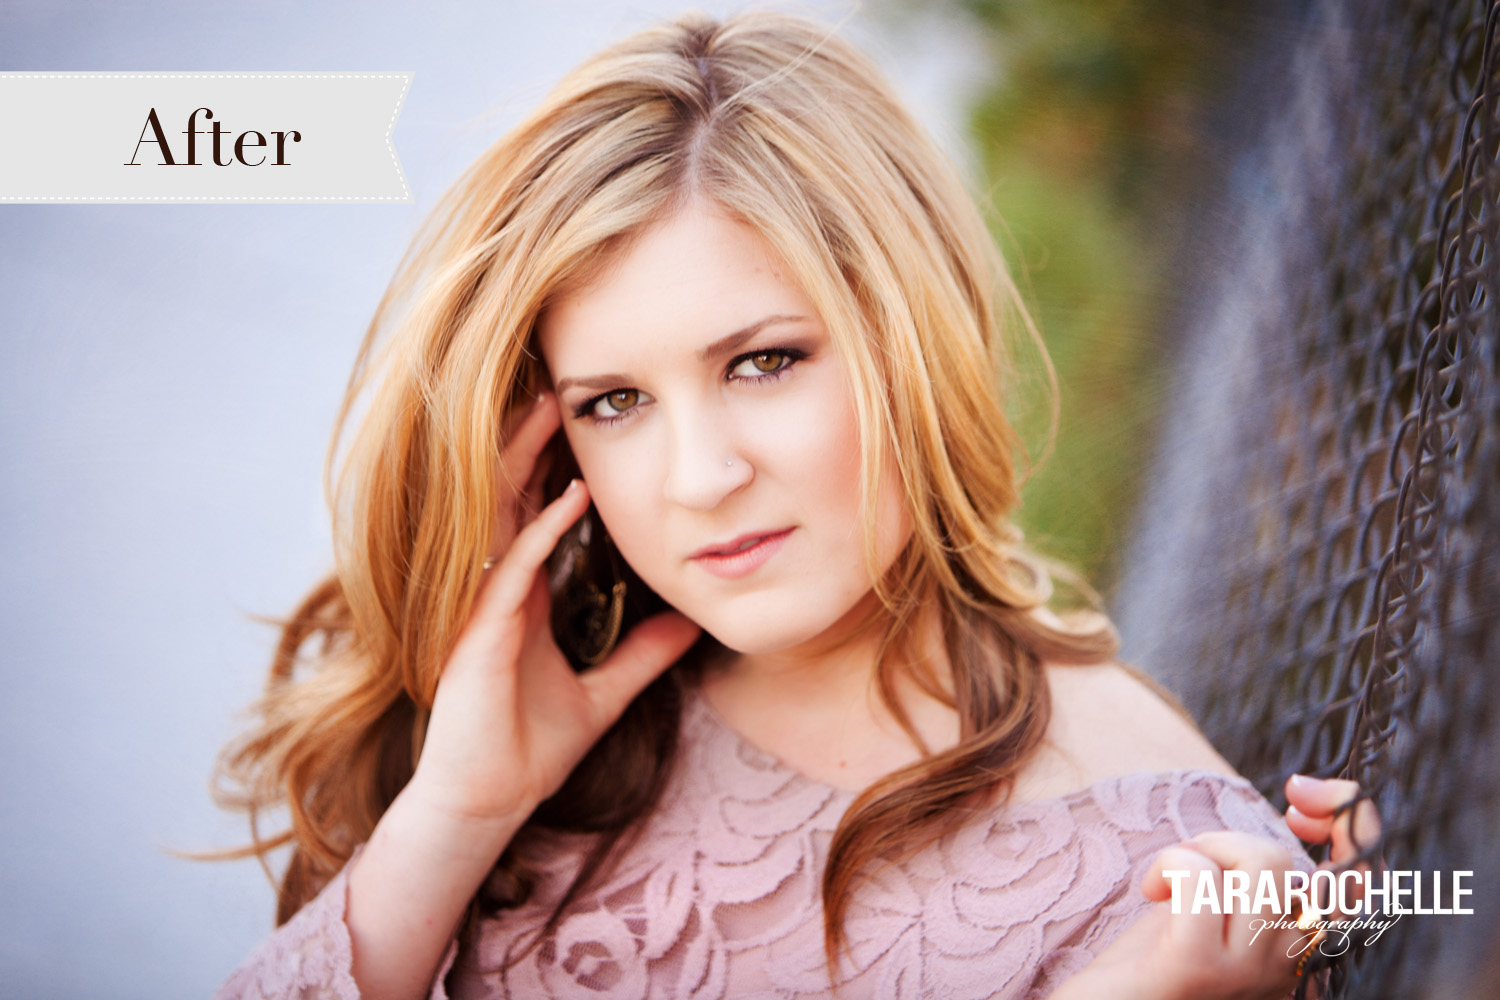
Here in the final shot, I have done all the bells and whistles. It, to me anyway, looks like night and day compared to the original straight from camera picture. The skin tones are soft, warm, and beautiful, there is shape from soft shadowing and dimension to her face, the colors have a pop to them, it’s crisp and sharp but not overly sharpened, it has a texture and little more mood to it now.
I hope you enjoyed my little before and after for today. I’d love to hear what else you are all wondering about!! Until next time..


 Click here to view Morgan’s senior session or check out our brand spanking new Tara Rochelle : Seniors Page on Facebook! You can also click here to get more info about our Senior Portrait sessions photographed all around Pasadena, Santa Clarita, and the Los Angeles areas.


comments +